Ways to personalise assets for your portfolio: Incorporate video to showcase a UI project
Simon demonstrates how to create a video presentation for a user interface project using Adobe Photoshop. The process involves the following key steps:
Import a screen recording (MP4 file) of an app or website into Photoshop.
Adjust the canvas size to match other assets in the presentation (1600x1200 pixels).
Resize and position the video within the new canvas.
Add a background color layer.
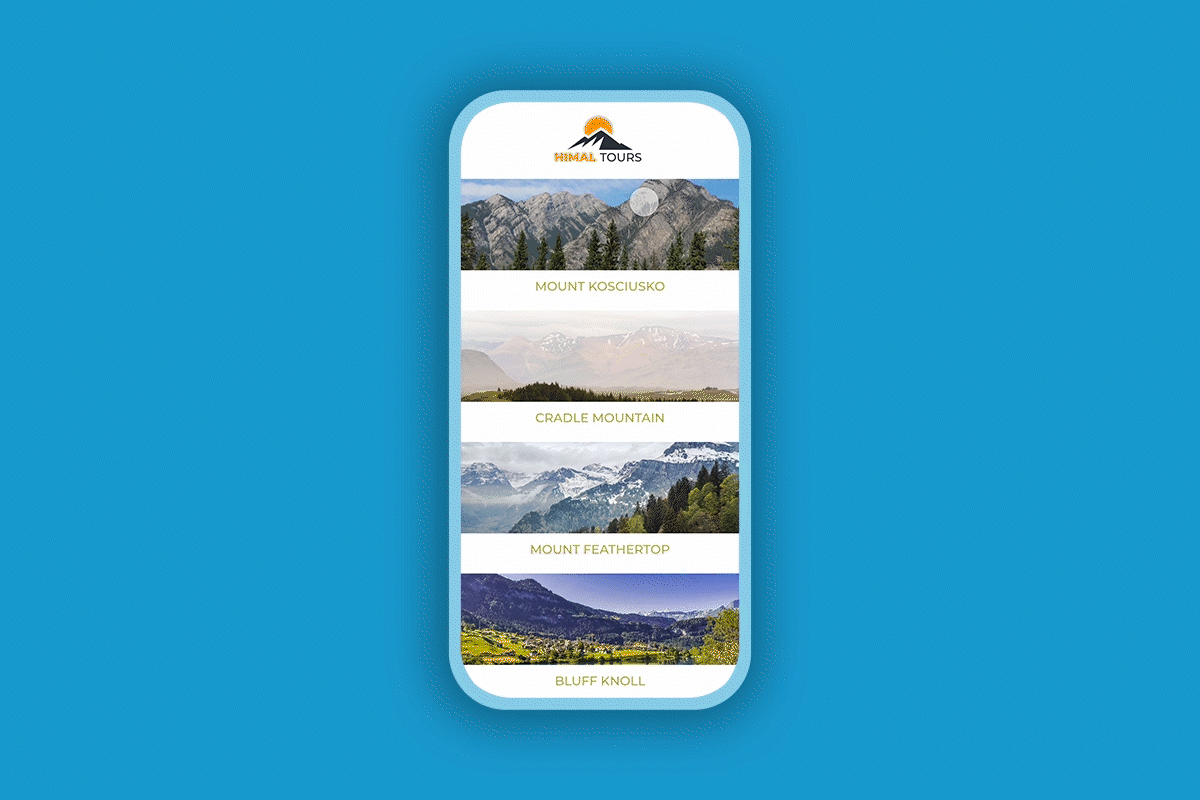
Create a phone shape using the rectangle tool with rounded corners.
Apply a drop shadow to the phone shape for depth.
Add a layer mask to the video layer to fit it within the phone shape.
Ensure all elements (background, phone shape, video) span the full duration of the timeline.
Preview the composition to check the animation.
Export the final product as an MP4 file using the "Render Video" option, with H.264 compression.
Simon emphasizes that this technique allows for the incorporation of graphic elements with the video, creating a more polished presentation of the UI project. He mentions that the resulting MP4 file can be uploaded to a website-building platform and embedded into a portfolio page.
Throughout the process, Simon provides tips on using Photoshop's timeline, layers, and masking features to achieve the desired effect. He also notes that this method is an effective way to showcase UI/UX designs in a portfolio.